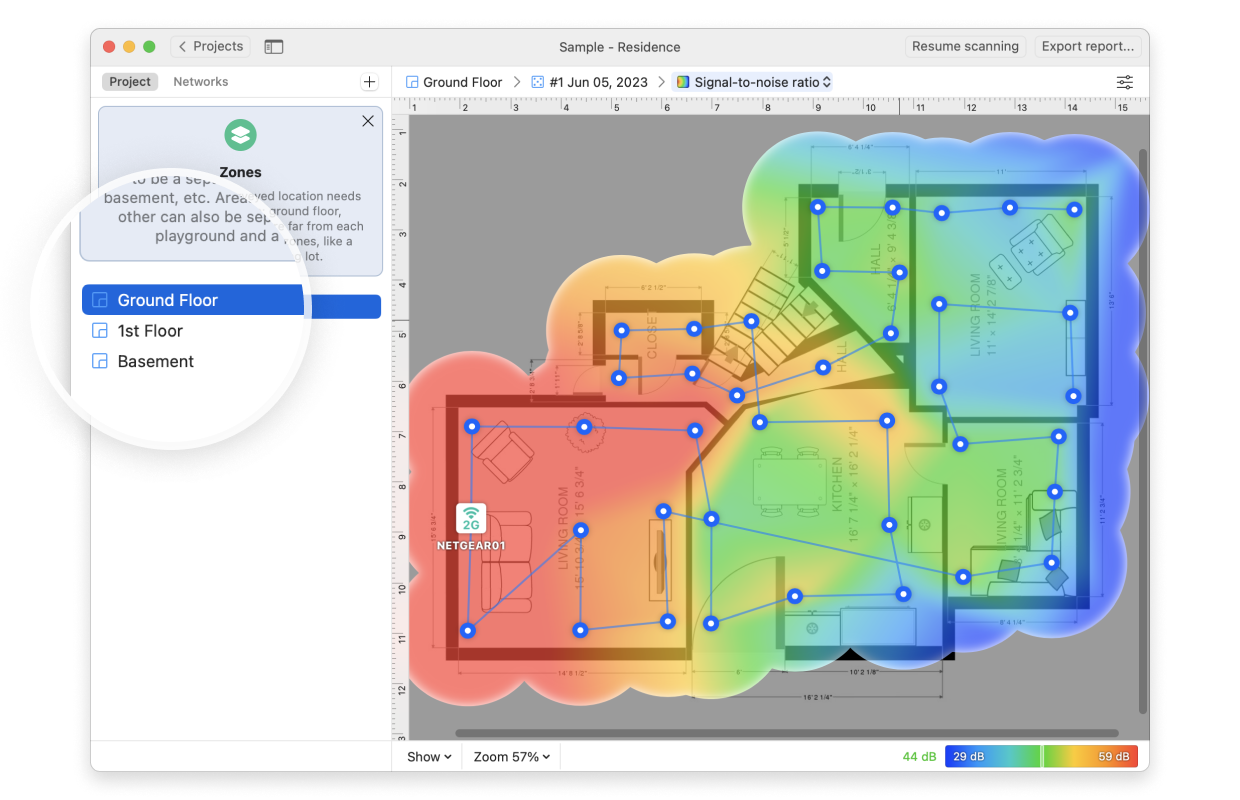
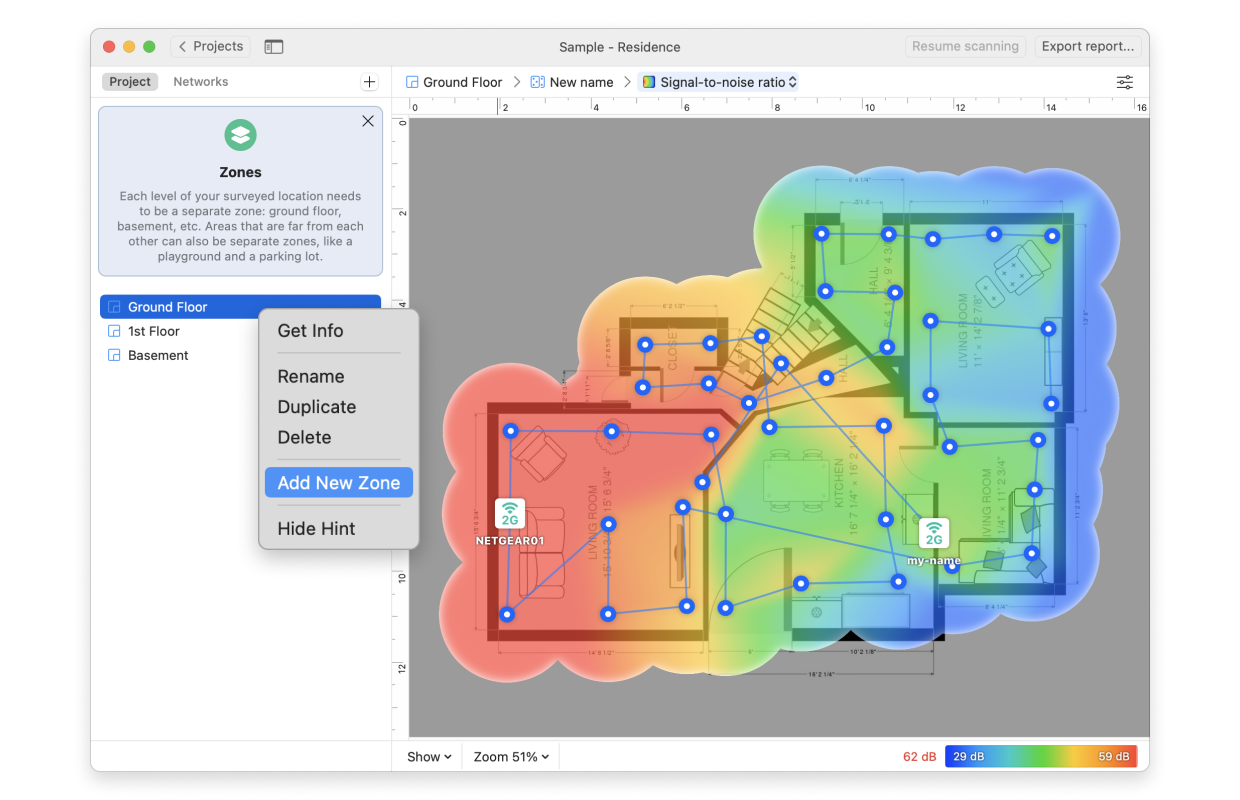
When you create a new survey project and draw or load a map, the area you’ve just created is called a zone. A Project and Site Survey can consist of just one zone, or can contain multiple zones — each with a different name. You can use the same map (floor plan) for multiple Zones or have a different map for each Zone.

If your project will contain more than one zone, you can add new zones to it according to your license type allowance.
To add a new zone to your survey project:
- Open your Project (if it’s not already open).
- Switch to the Project menu in the left sidebar and click Add New Zone.

- Name your new zone and select whether you want to draw or upload an existing floor plan.
To duplicate a zone in order to take measurements at a different time of day or on a different day, use the Zone Snapshots guide.
To permanently delete a zone (and the map/floorplan that goes with it), right-click (secondary click) the zone you want to remove in the left sidebar of your project and choose Delete. When asked to confirm the zone removal, click Remove.