NB: It is always recommended to review our survey Tips and Hints before you begin your own.
1) Download and open NetSpot and switch to the Survey tab.
2) Use the Create New… option to create a new project. You can choose a name for your new project and add a description for added convenience. Choose the type of map (floor plan) you are going to use — you can either upload a file (it can be a previously created sketch, a blueprint, or a snap of Google maps area even) or draw a completely new plan directly in NetSpot. In case of the latter you can set up the area for your canvas in either feet or meters.
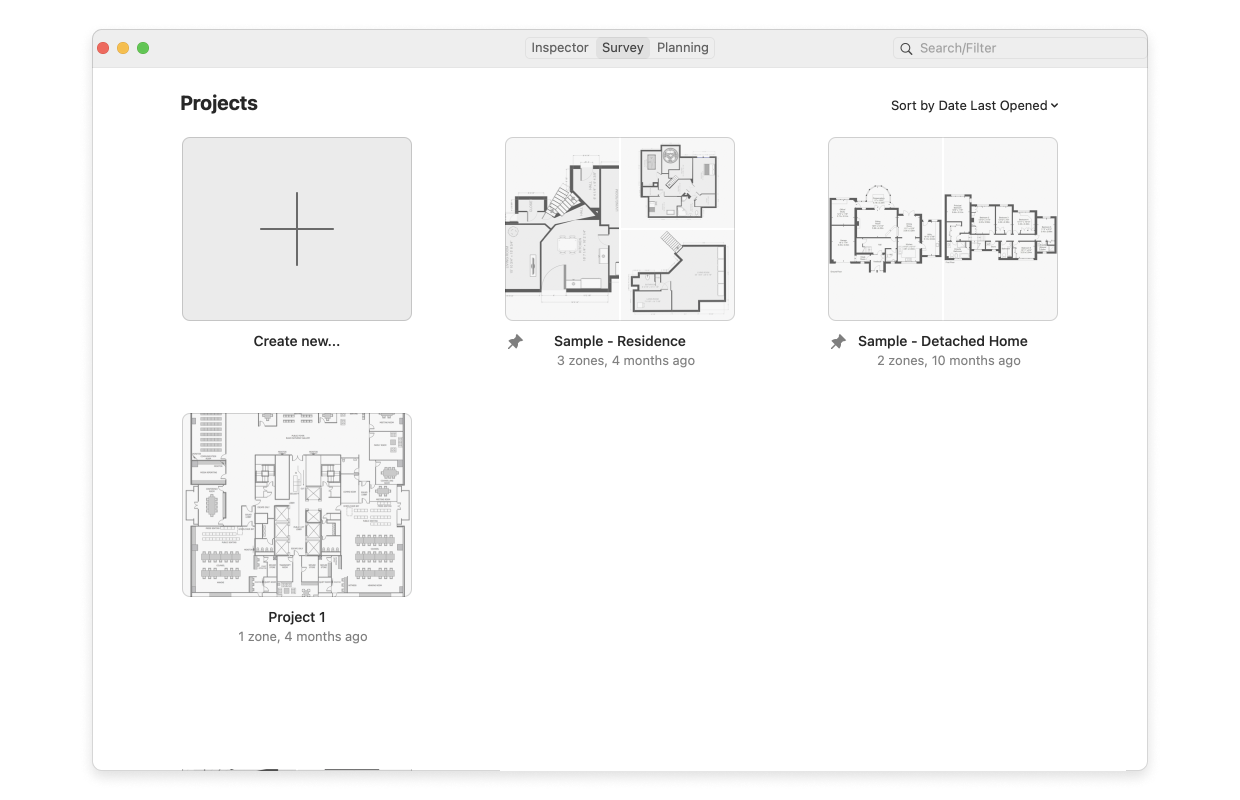
3) Click Select.
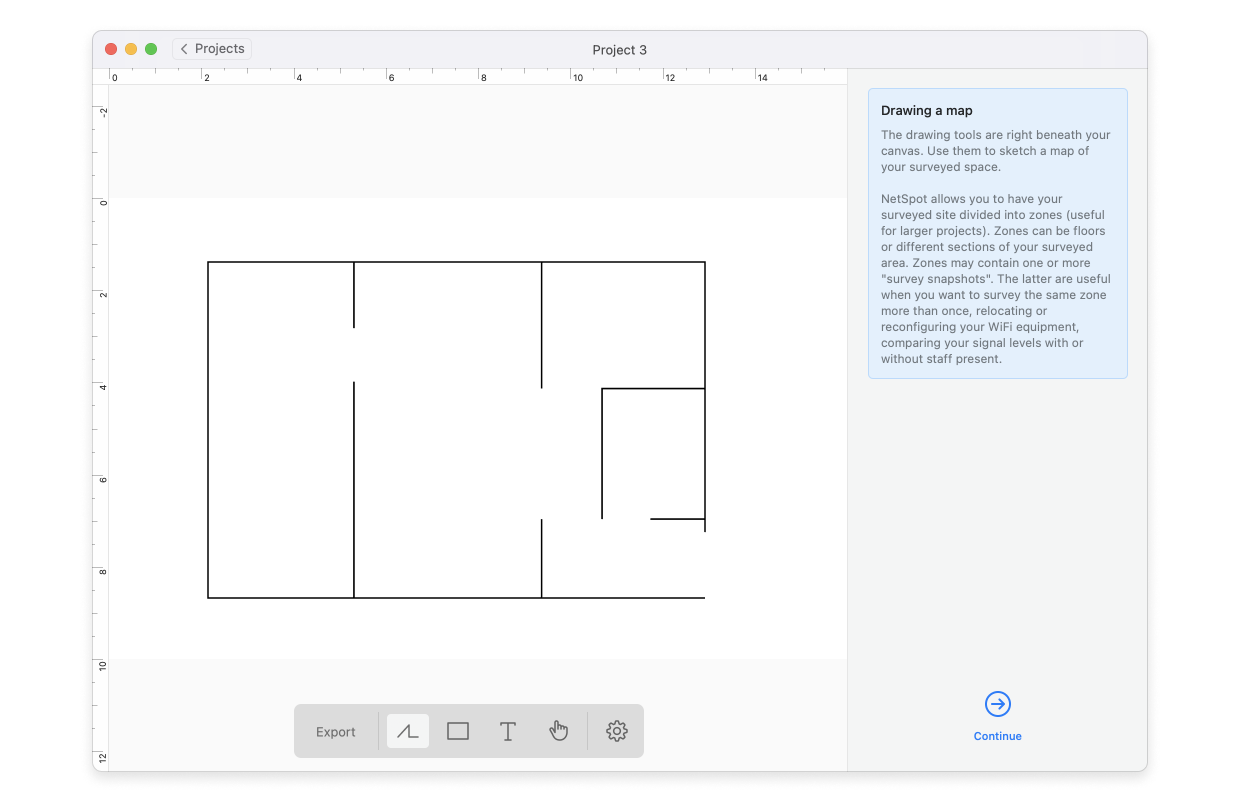
4) Drawing a map.
You’ll find the necessary drawing tools right above your canvas. Sketch a map of the surveyed space and don’t forget that if your space is quite large and consists of multiple rooms or floors, it is convenient to sketch a map for each zone separately. You’ll be able to add more zones to your project later, as well as either sketch or upload their maps.
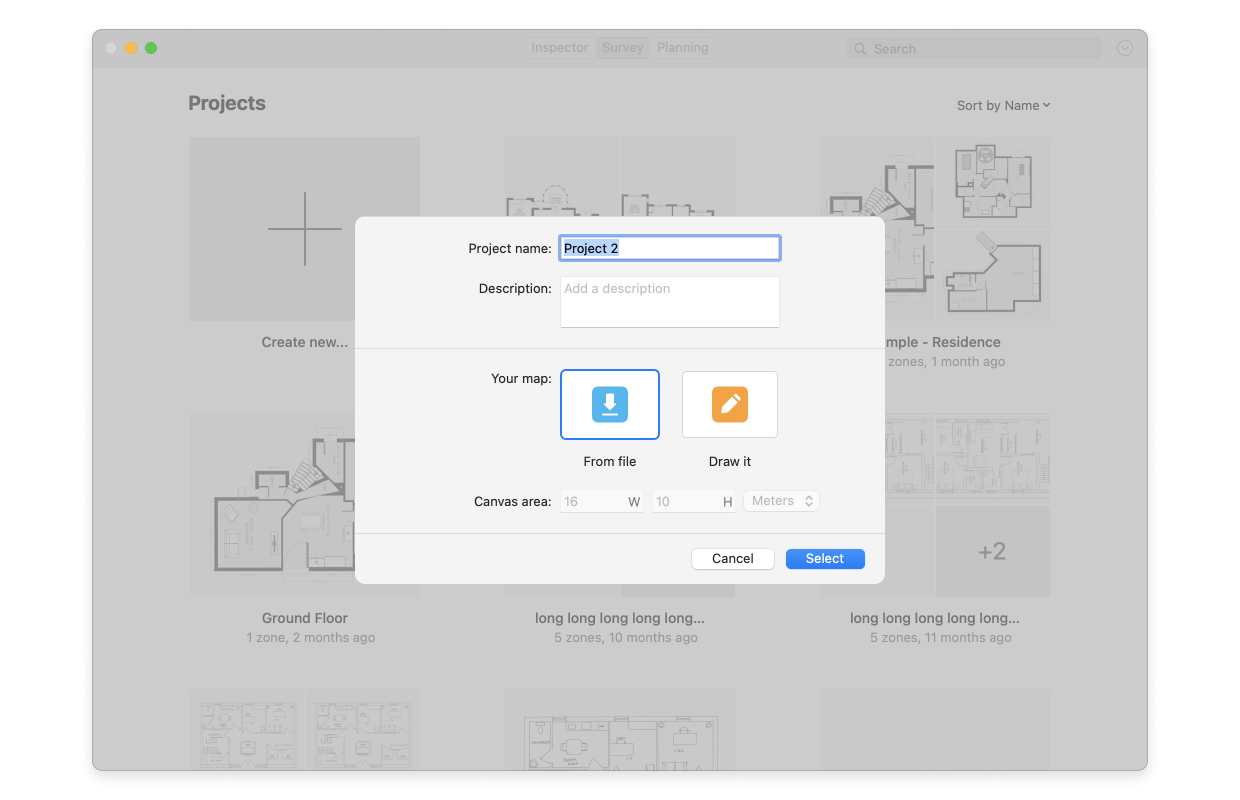
Using an existing map file.
After naming your project and possibly adding a description for it, select the From file option, then click Select.
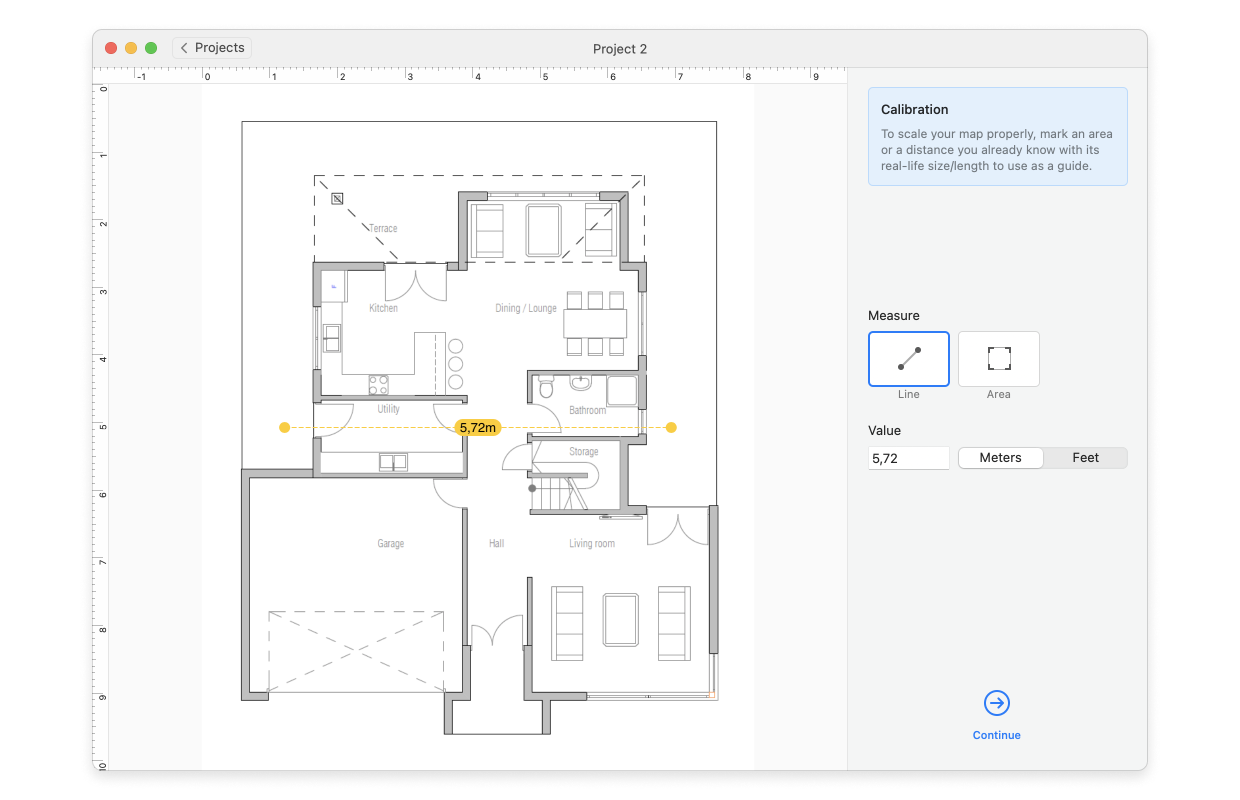
5) Calibrate the map by means of entering the length of a line that corresponds to some real-life stretch in your surveyed space or a square you know the area of. Choose meters or feet to correctly reflect the units you are going to use throughout your project. Click Continue.
Set the precision of your data point (the spots on the plan you’ll be taking measurements at). The larger and more open your surveyed space is, the less frequent sampling stops you need to take. The larger space with bigger object density will need more data points however for more precise heatmaps. Decide whether you’ll be running Active scanning and which networks you are going to run it for.
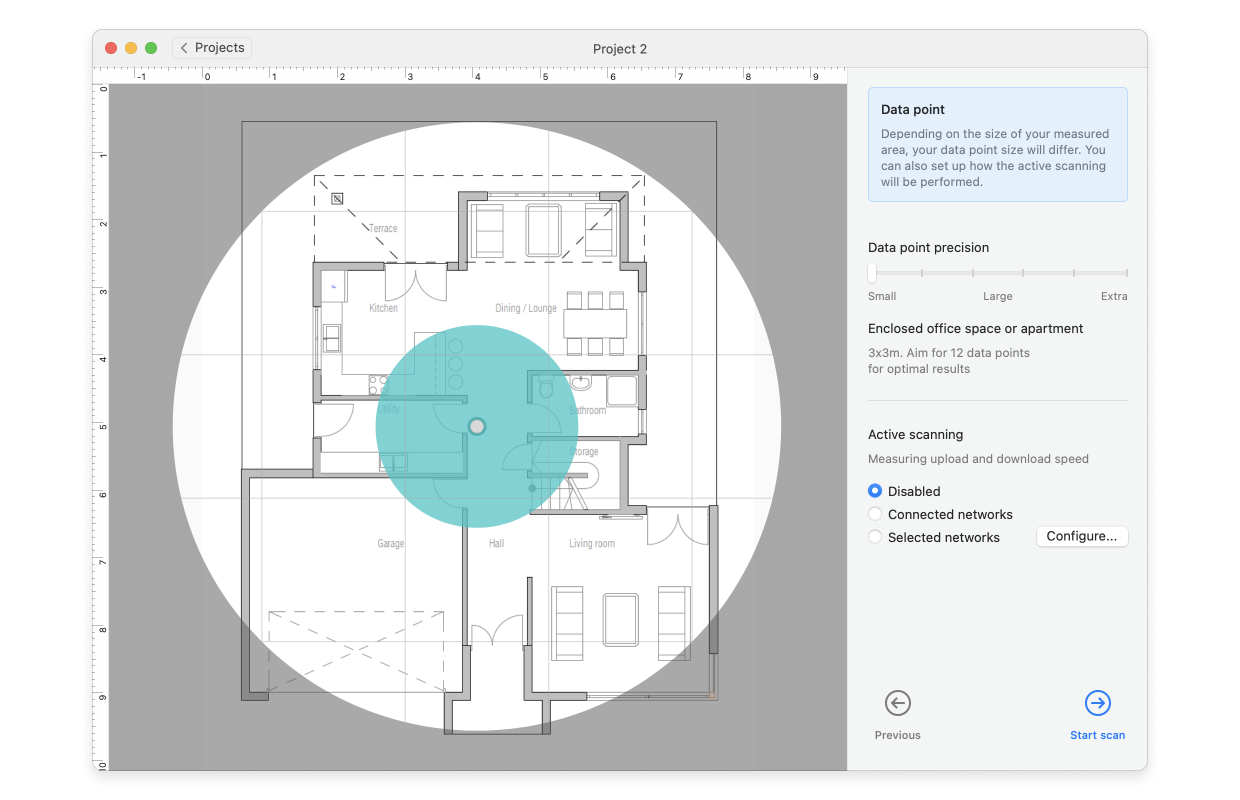
6) Click Start Scan.
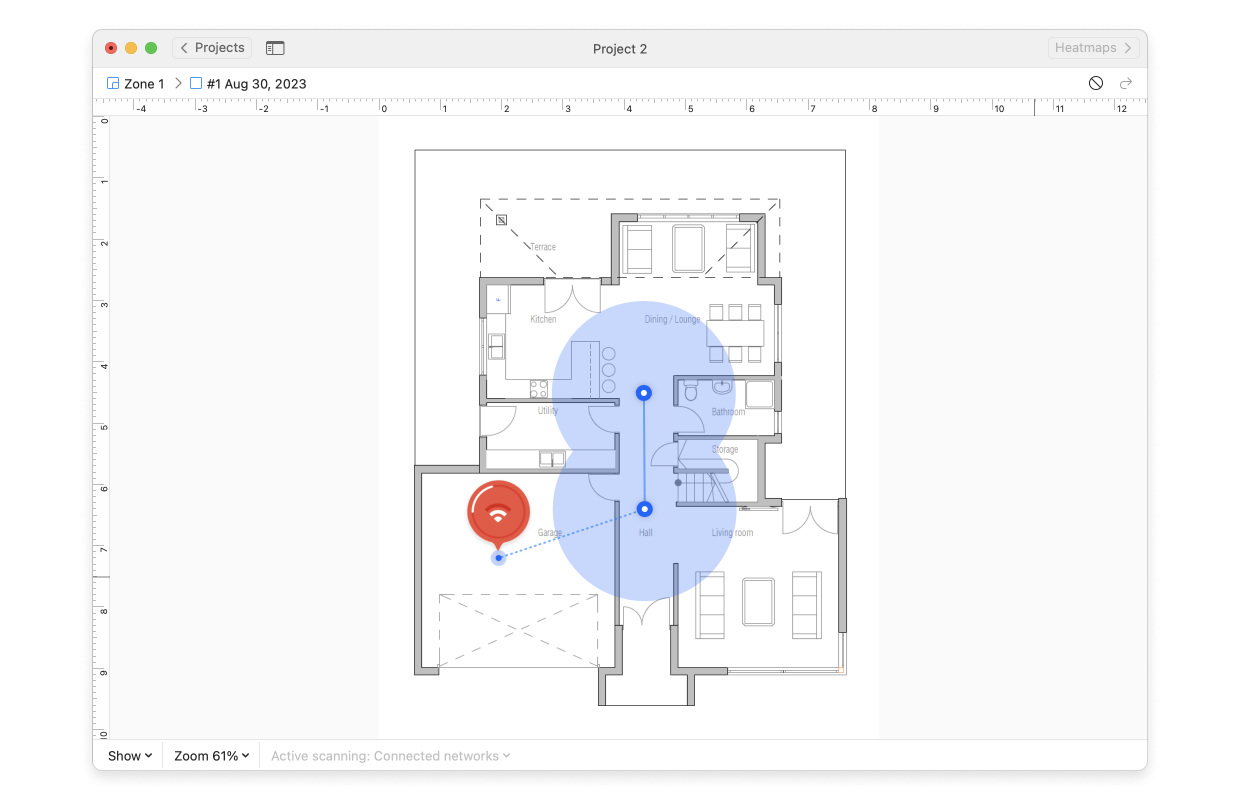
7) Walk to one corner of your space and click the point on the map that corresponds to where you are standing. The app will then take its first measurement, which can take 10 seconds to a few minutes. Be sure to stay still during this time. It is finished when the red progress balloon turns into a blue circle and the distinctive audio alert sounds.
8) Proceed moving from spot to spot and taking measurements as frequently as suitable for the type of space you survey, three data points is the minimum required.
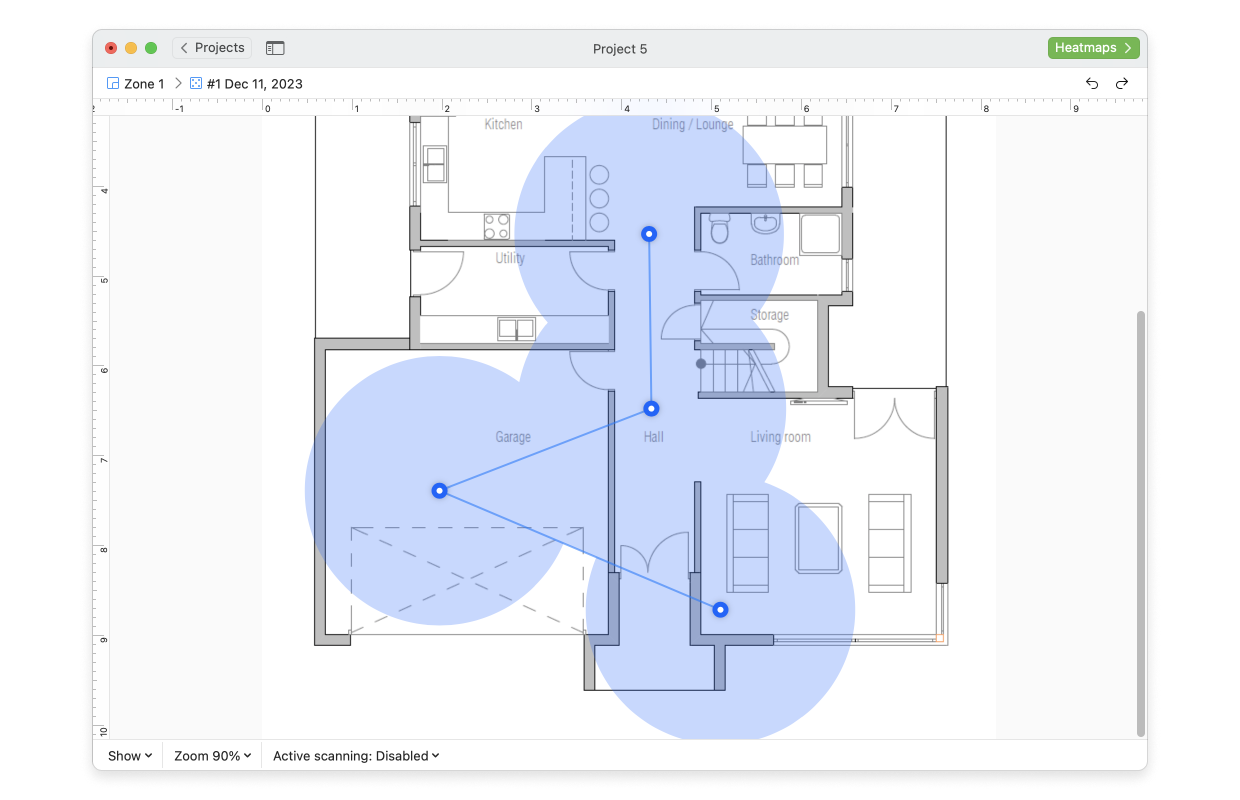
Take your measurements close enough that the blue circles overlap slightly. Most of your surveyed area should be blue by the time you are done.
9) Once you have covered the whole area of the map that you wish to scan, click Heatmaps at the top-right corner of the app window. (Note: You don’t have to scan the entire map area. Scan only the portions you wish to survey for this zone.)
10) You can select various types of heatmaps from the drop-down menu at the top to analyze a variety of parameters and the effect they have on your wireless network coverage.
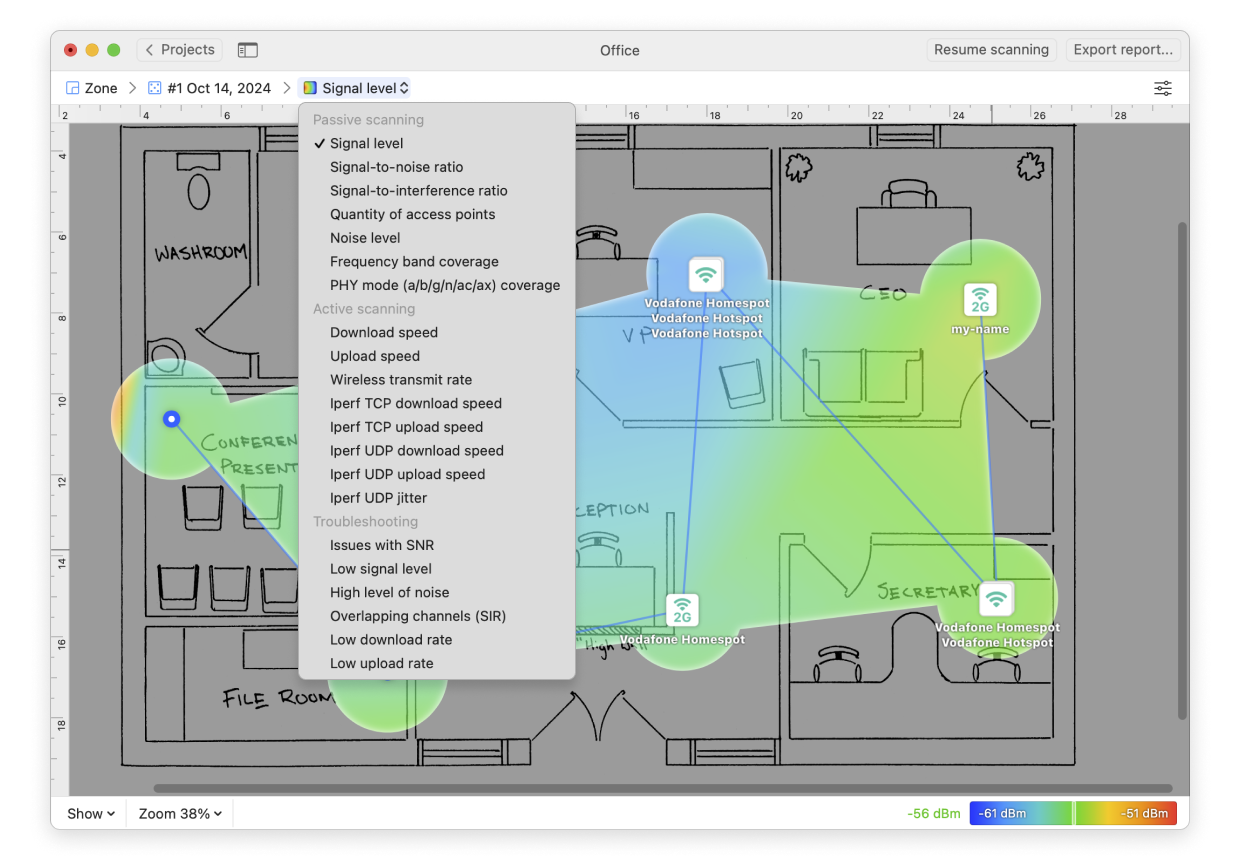
To learn more about each heatmap type, view types and benefits of NetSpot WiFi heatmaps in the knowledgebase. You can view What does the Footer menu do? to learn how to adjust your heatmap views, including viewing detailed sampling points. Or view How do I save, export or print my survey? to be sure that you save your progress.