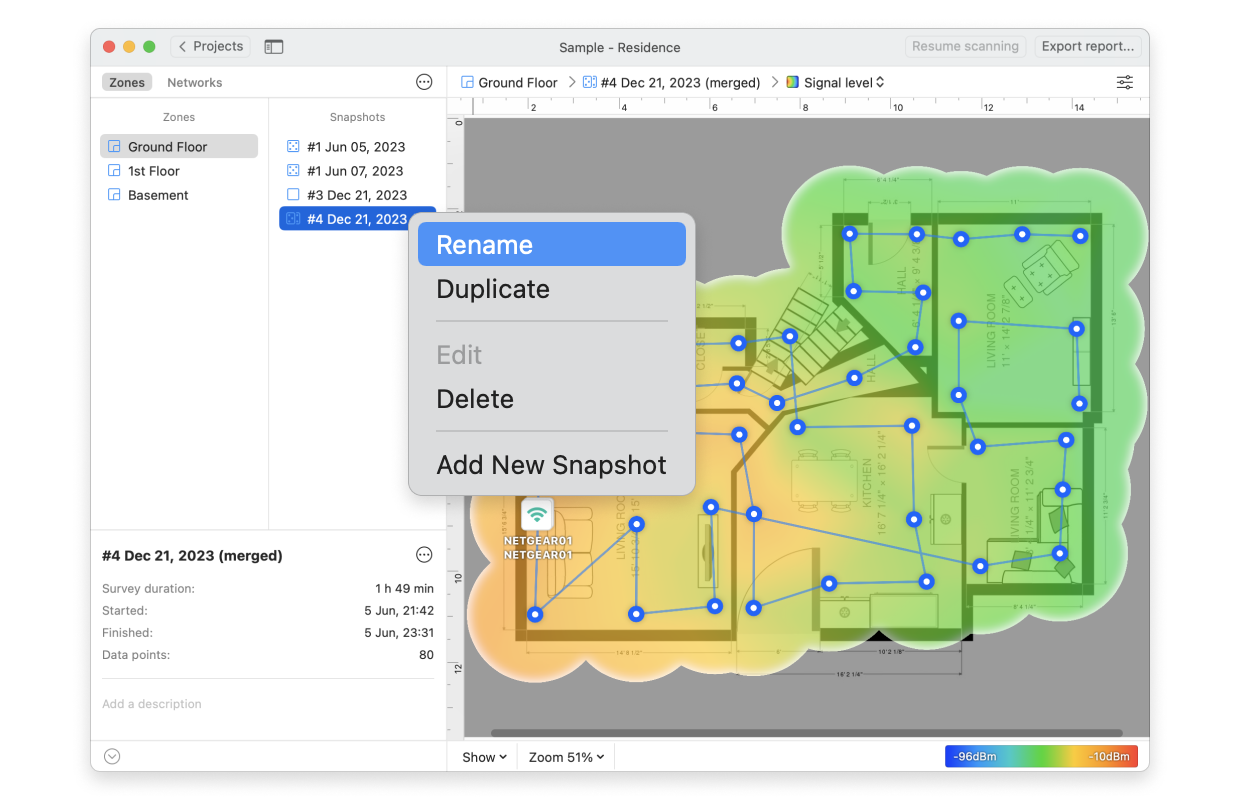
Beginning with version 3, NetSpot offers a fully functional WiFi Planning mode for when you need to plan an entirely new wireless network in a location that may have not even been built yet.
However, sometimes there is a need to plan a network in an already existing space with an existing WiFi router that can be used to model multiple routers of the same brand and model for the most precise WiFi Planning survey reports.
So here is how to plan your WiFi network with as little as one portable router.
For this type of Survey use a regular Survey mode, not the Planning one.
- Click Create New…to start a new project. Name it and add an optional description. Choose to either draw or upload the floor plan.
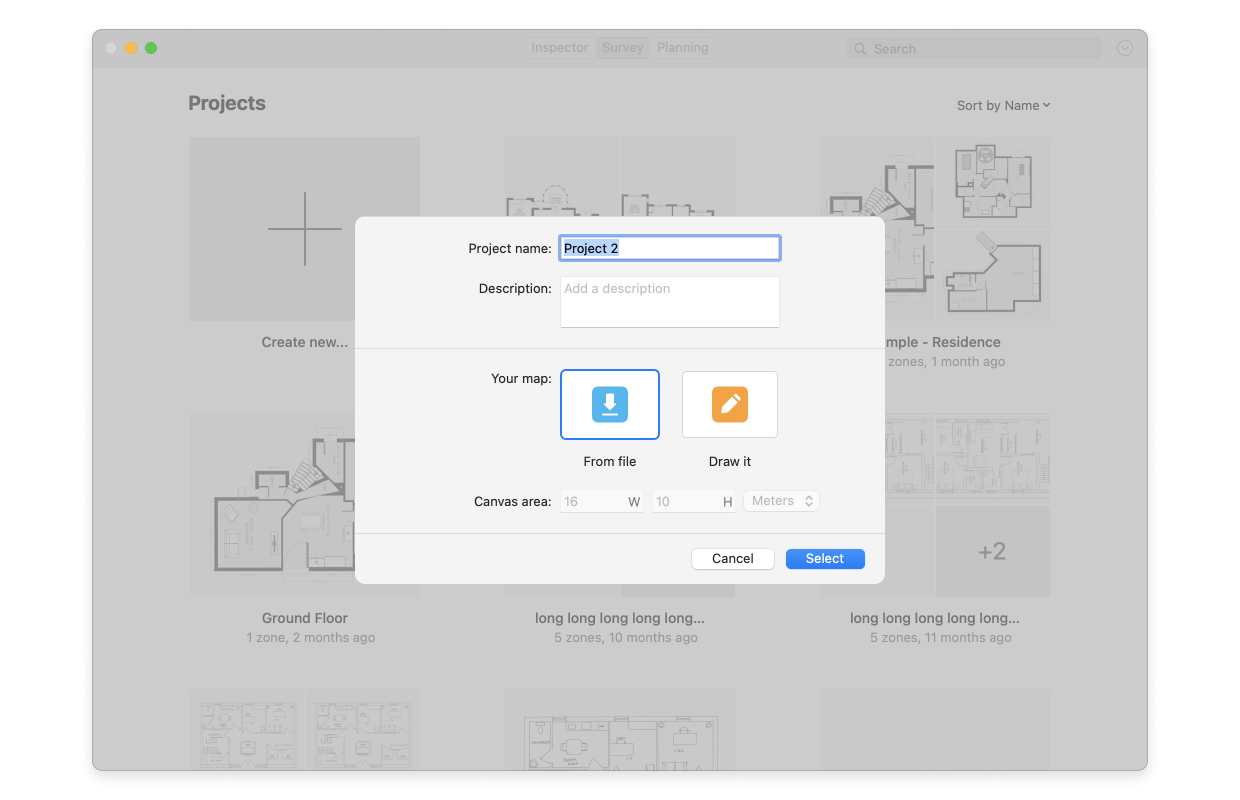
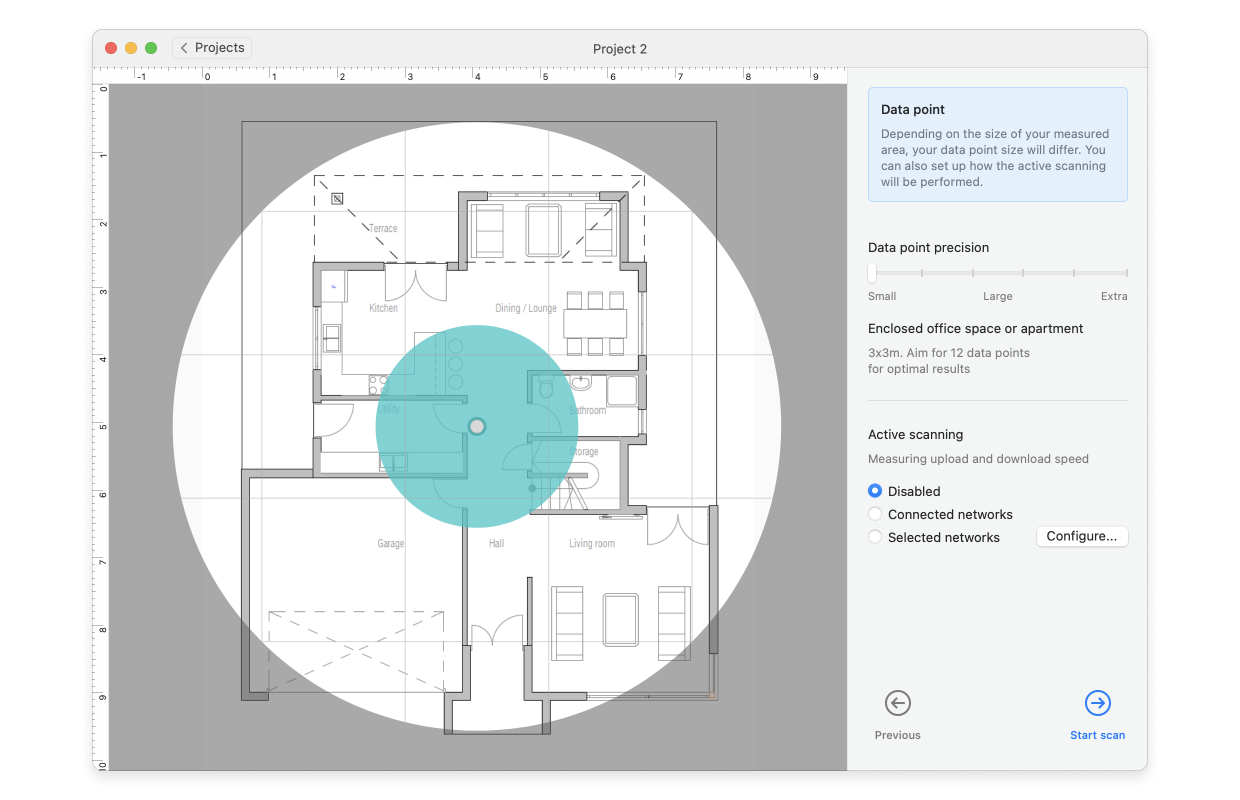
- After drawing or uploading a plan and calibrating it, set the data point precision. The larger and more open your surveyed space is, the less frequent sampling stops you need to take. The larger space with bigger object density will need more data points however for more precise heatmaps. Decide whether you’ll be running Active scanning and which networks you are going to run it for.
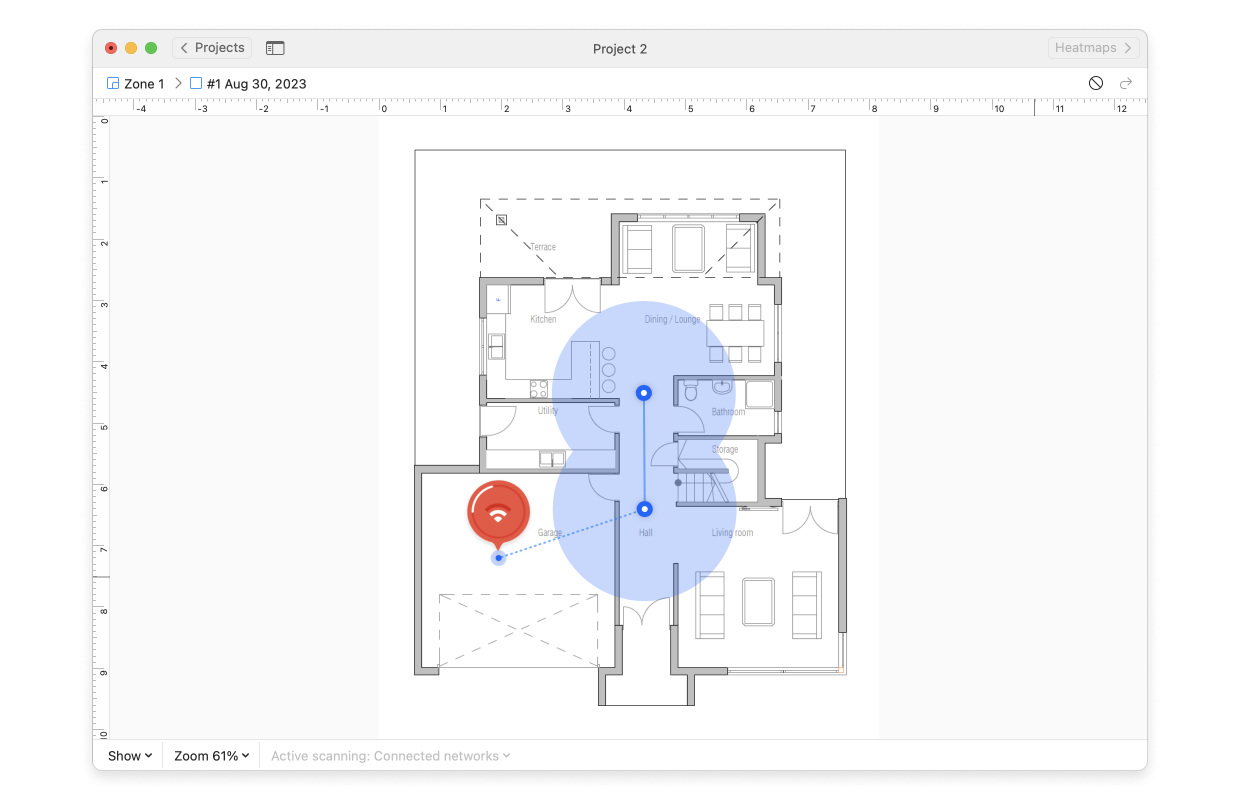
- Place your single router in its first presumed location, take a few samples, and then move with it to the next location of a data point.
- Once you have measured the entire space, you can merge all snapshots into one as if you were working with an existing network that has all routers in place. The resulting snapshot is a good starting point for your analysis. You may want to move your testing AP to a different location based on the overall coverage you got, and merge another set of snapshots to see if new placement works better.
You can merge any number of snapshots. Snapshots resulting from merging other snapshots are full-featured: they can be exported, more data points can be added, and yet again, they can be merged with other snapshots.
To merge snapshots follow these steps:
- Click the currently active snapshot atop your canvas area for the full list of the created snapshots as well as the options available for them to drop down. Your first snapshot is created automatically when you perform your first scan. It is automatically named according to the date of creation, e.g. “#1 Oct 11, 2024”.
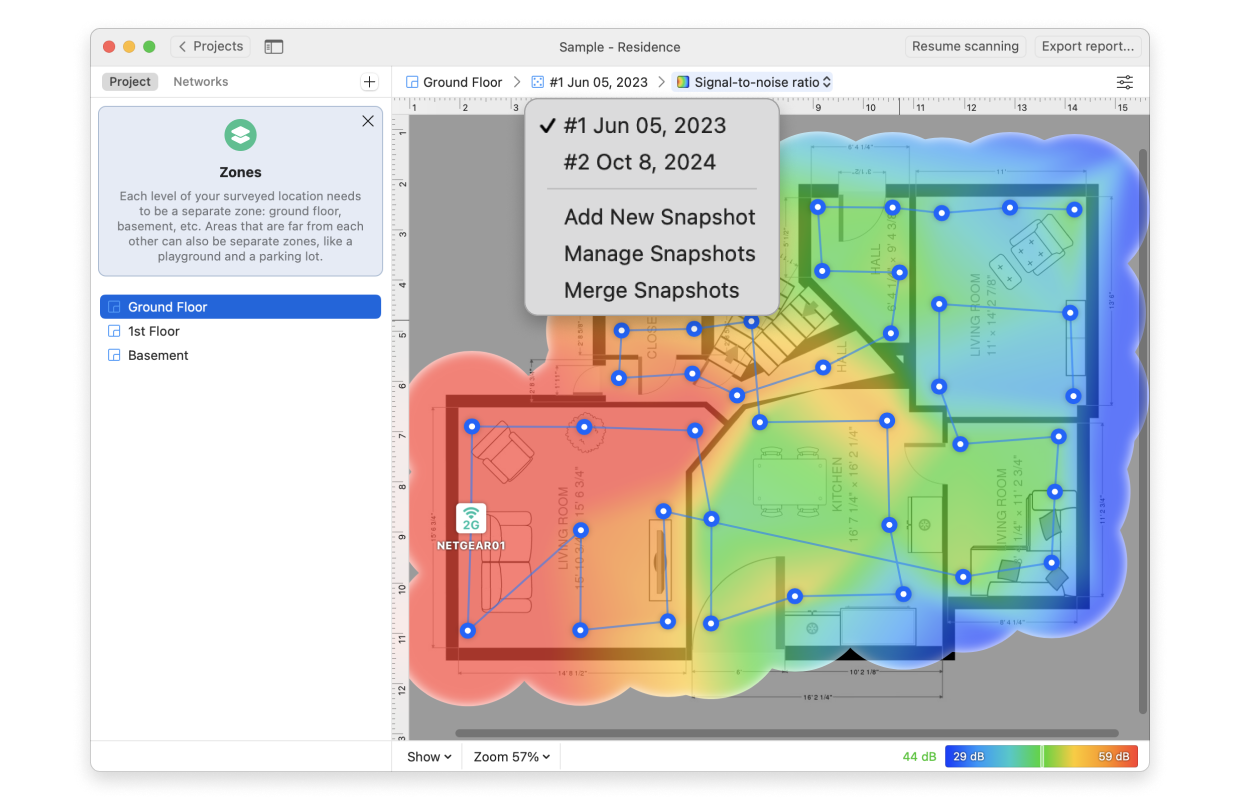
- Click Merge Snapshots to select the snapshots you’d like to merge.
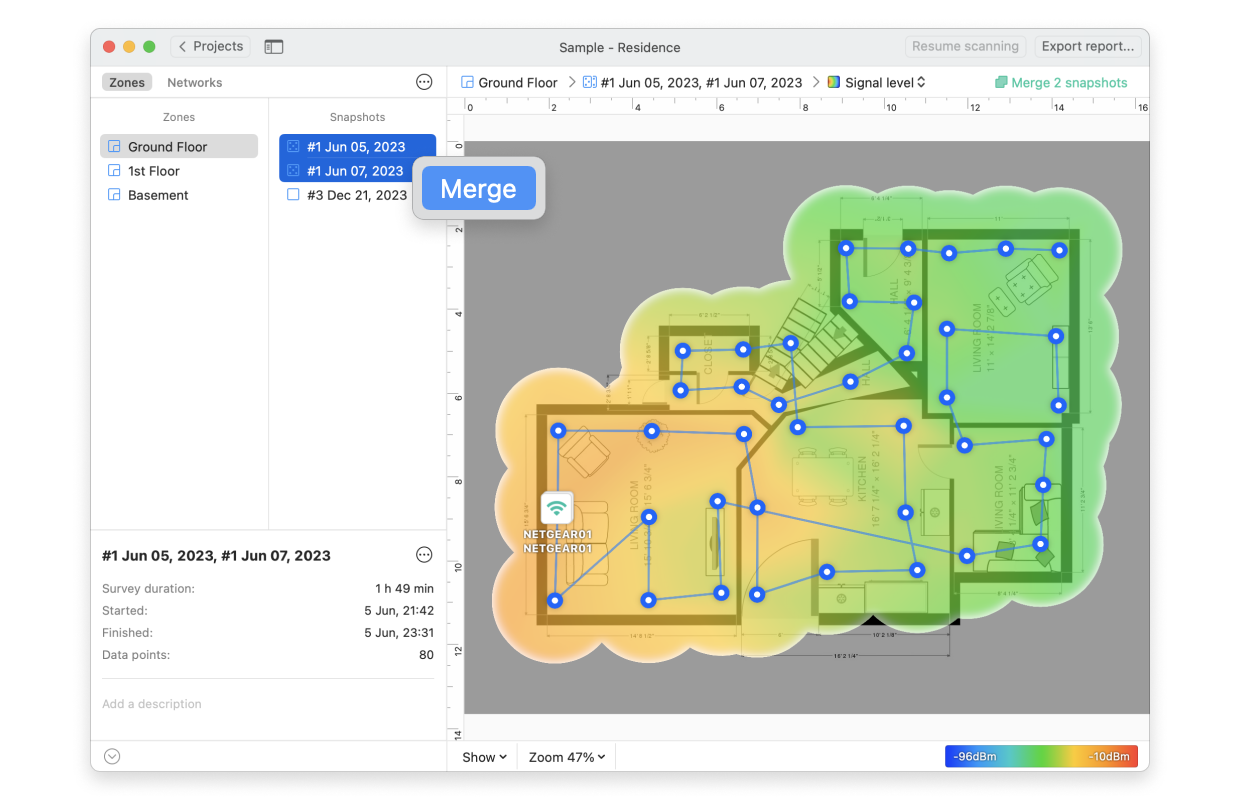
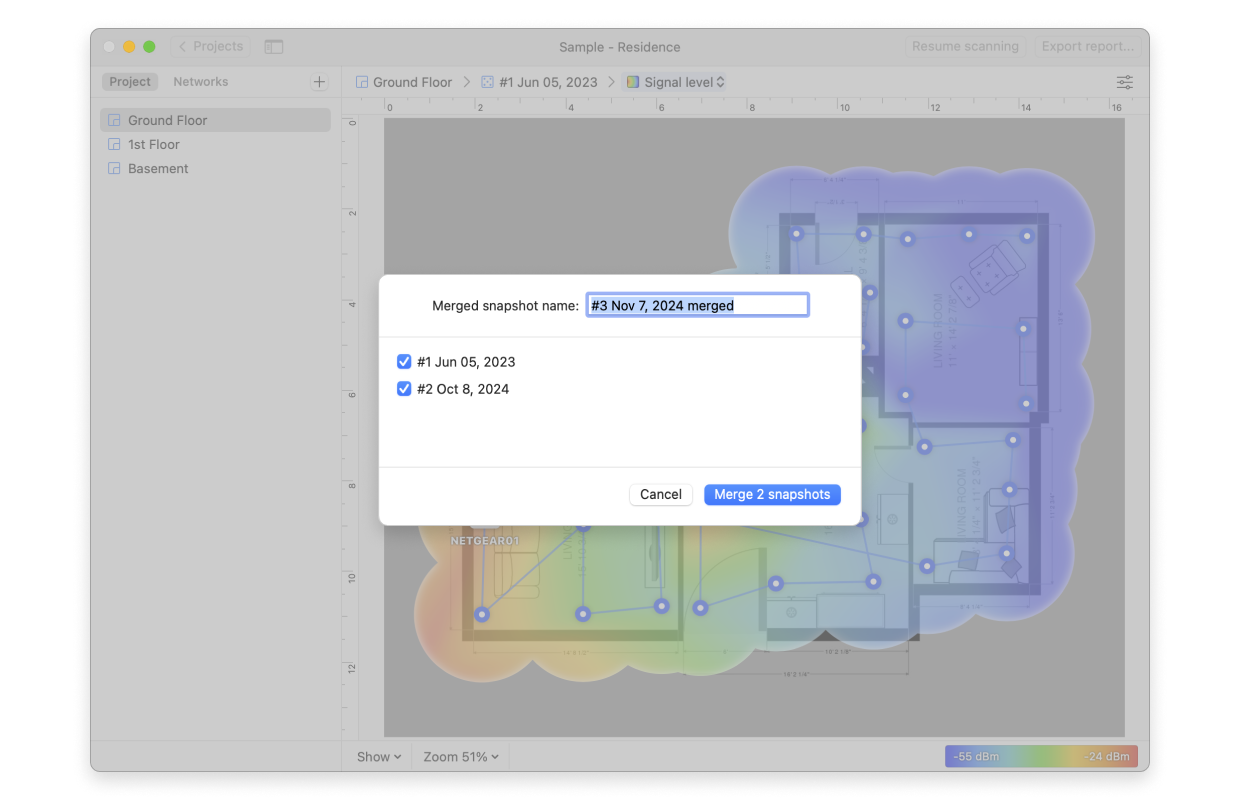
- By default the merged snapshot will have a name consisting of the next available number on the list, today’s date, and the word “merged”.). You can change this default name as required.
- Click “Merge N snapshots”, where N will be the number of snapshots you just selected.
- To rename, duplicate or delete any snapshot click the currently active snapshot atop your canvas area, select Manage Snapshots, and in the window that opens you can see all created zones and their respective snapshots with the options of renaming, copying, or removal.
